Most of us are handed this job with a date attached and no instructions. Someone trusted you with the photos, someone else expects a finished video, and nobody tells you what to actually write on the slides. That part is simpler than it feels.
To write a tribute for a funeral slideshow, draft the words first as a single script of roughly 250 to 400 words, cut it into one passage per photo, keep each passage short enough to read on screen in four to six seconds, add one piece of music underneath, and play the finished three to five minute video during the service.
A funeral slideshow tribute is a short video that pairs photographs of the person who died with written words, music, and sometimes narration, shown during a funeral or memorial service to tell the story of their life. It is not the eulogy. A eulogy is spoken aloud from the front of the room by a person; a tribute is words on a screen, and sometimes also a voice. The obituary is the notice in the paper. The tribute is the one that makes the room go quiet halfway through.
Allow two evenings of work. The first is for collecting and remembering. The second is for writing and building. If you only have one, write the script by hand and keep the video simple: photos, plain text, one track.
Table of Contents
- 1What You Need
- 2Required
- 3Helpful but optional
- 4Step-by-Step
- 5Step 1: Gather the memories and details you want to use
- 6Step 2: Choose a theme and emotional direction
- 7Step 3: Write the tribute in short, natural sections
- 8Step 4: Match each part of the tribute with a photo
- 9Step 5: Add captions, dates, and simple transitions
- 10Step 6: Choose music and optional readings
- 11Step 7: Rehearse, test, and prepare a backup
- 12Common Mistakes
- 13Frequently Asked Questions
- 14How long should a funeral slideshow tribute be?
- 15How do I write a funeral tribute for someone else?
- 16Should I read a funeral slideshow tribute aloud?
- 17What music works best for a funeral slideshow?
- 18How should I organize photos and write captions for a funeral slideshow?
- 19Conclusion
What You Need
Two kinds of things go into this project. Some you cannot do without. The rest makes it easier but nobody will be missed if they are missing.
Required
- Photographs — as many as exist, digitised. Phone photos are fine. Ask relatives by text with a clear request: who has pictures of her from the eighties, who has the school ones, who has anything from the last year.
- Basic facts — full name, dates, places, names of spouses, children, siblings, jobs, and the names of anyone in a photograph who will not be obvious. Write these down before you start.
- Something to write with — a notebook is better than a laptop for this stage. Typing on a laptop turns every sentence into a judgement.
- Slideshow software — anything that assembles photos with text and music. PowerPoint, Canva, iMovie, Google Photos, or the app your funeral home uses will all do the job.
- A quiet place and one long stretch — two or three uninterrupted hours, phone off.
Helpful but optional
- A second person to read the draft. Fresh eyes catch the sentence that rambles.
- A microphone and a quiet room, if you plan to narrate rather than rely on text.
- A spare laptop or tablet to run playback on the day, in case the machine you built on misbehaves.
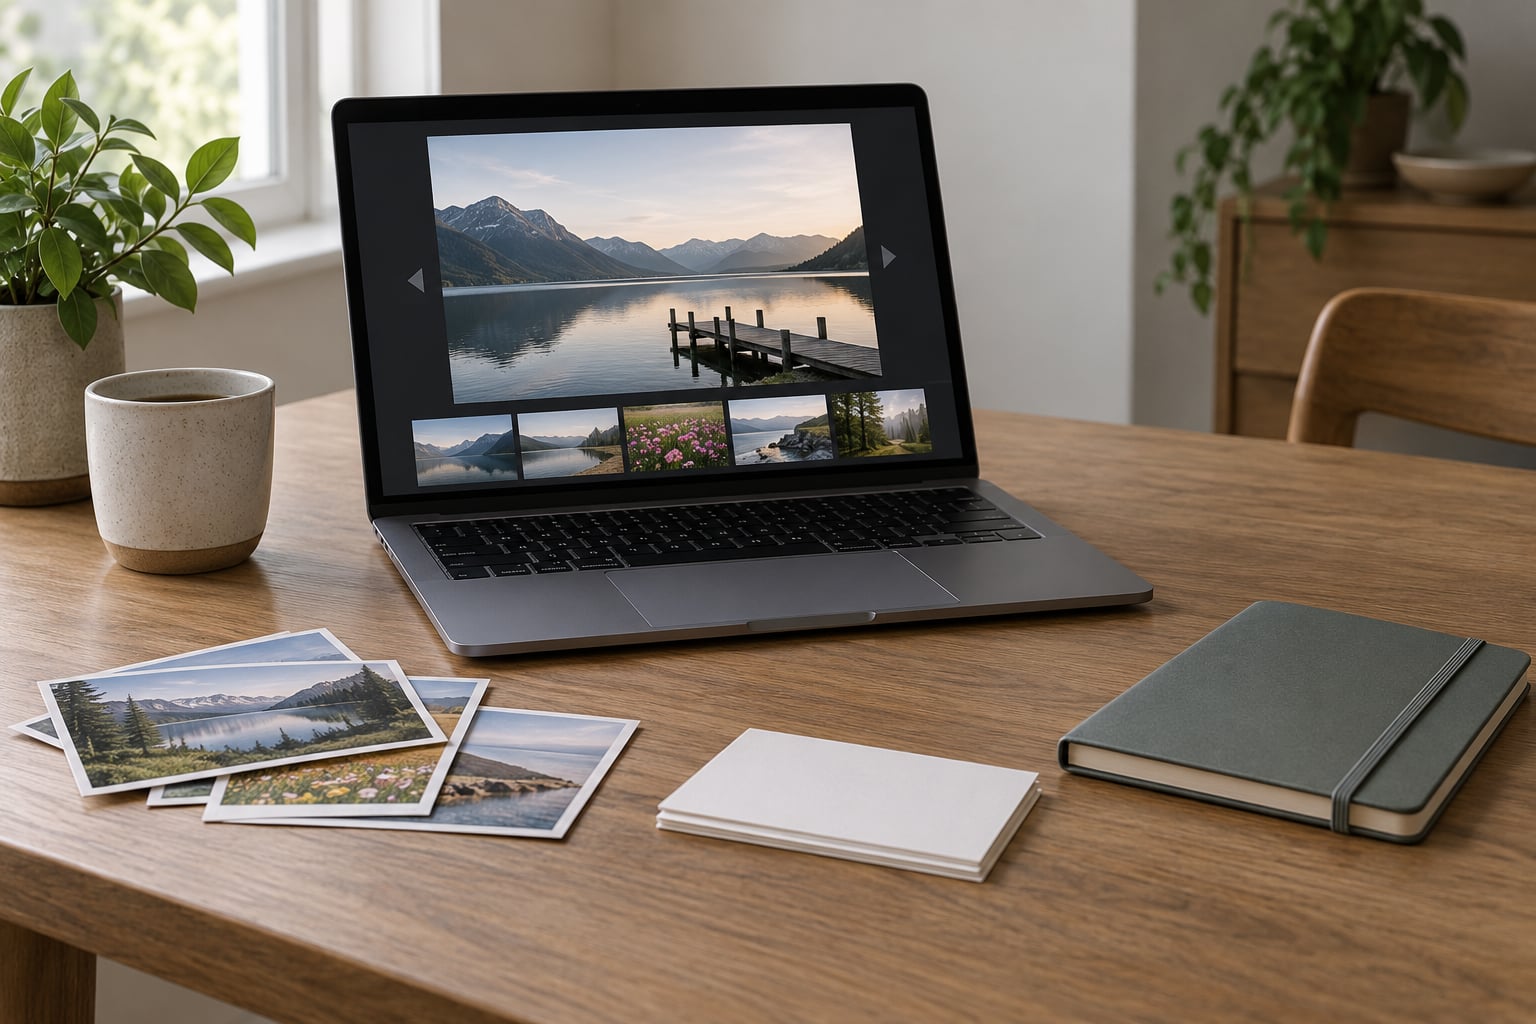
- Printed copies of the key photos. Handling a print while writing about a person unlocks memories that a screen does not.
Put all of it in one folder on your desktop, and keep it there until the service is over. You will need it again for the version you send to relatives who could not travel, and again if someone asks for a copy next year.
Step-by-Step
Write the tribute before you open any software. This is the one habit that separates a slideshow people remember from one that simply cycles through pictures for eight minutes while someone reads the obituary.
Step 1: Gather the memories and details you want to use
Set a two-hour collection window. Put a notebook on the table, a phone beside it, and write down every memory that arrives whether or not it seems useful yet. Small ones are usually the good ones: the sound of a laugh before the punchline, a habit of watering the neighbour’s plants every Sunday for thirty years, the way she always parked crooked at the supermarket.
Then ask other people for theirs. Send one specific question rather than a general one — “what was she like on a normal Tuesday” produces better material than “can you tell me about her”. Close friends and relatives each hold a different slice, and the slideshow is stronger for all of them.
Collect the hard facts alongside the memories: dates of marriage and children, the name of the town they grew up in, the job held for thirty years, the name of the dog. On-screen captions need these, and getting them wrong is the kind of error people notice and forgive badly.
You are done with this stage when you have more material than the final slideshow can hold. That is the goal, not a problem. Over-supply means you get to choose.
Step 2: Choose a theme and emotional direction
Pick one organising idea and let it decide what goes in and what stays out. Four structures work well in practice.
- A life in order — childhood, first job, marriage, children, later years. Chronological and easy for anyone watching.
- Character and values — built around three or four qualities. Generous. Stubborn. Loyal past reason. Each quality gets its own photo and its own short passage.
- Family legacy — grandparents, parents, children, grandchildren, with names and dates doing the work.
- Favourite moments — no timeline at all, just a sequence of pictures the family already loves.
For most people the first or the fourth works best. The second can drift into a list of adjectives, and the third turns into a genealogy chart unless you keep the names short.
Decide the emotional direction too: warm and funny, steady and grateful, or quiet and reverent. Mixed feelings are fine in a written tribute. They are harder on screen, where a joke followed immediately by a solemn line can leave the room unsure what to feel.
You are done with this stage when every photo you have chosen and every paragraph you plan to write supports that one theme.
Step 3: Write the tribute in short, natural sections
Draft it as one continuous piece first. Three to five short paragraphs, roughly 250 to 400 words in total, no slide numbers, no formatting. Write the way you speak to a friend, which usually means shorter sentences than you expect and fewer adjectives than feel necessary.
A workable shape:
- Opening — who they were, in one or two sentences, and your relationship to them.
- Three to five middle sections — one per photo group or theme.
- Closing statement — what they leave behind. Keep it to one or two sentences and resist the urge to summarise the whole life again.
Sample language, meant to be reshaped until it sounds like you: “There were a hundred of us at that table and he was the only one telling stories. He never once asked what anyone else had been up to, and somehow you left feeling like it had all been your idea.” Or simply: “She fed people. Every Sunday, every holiday, anyone who came through the door. Ask anyone on that street and they will tell you about a plate of something.”
Two rules that keep it respectful. Write about who they were rather than about how you feel about losing them. And write to the people in the room — nieces and grandchildren included — not only to the adults who already knew them.
You are done with this stage when the draft reads aloud in somewhere between two and five minutes. Read it out loud to yourself, standing up. If you run out of breath or stumble, cut until it flows.
Step 4: Match each part of the tribute with a photo

Take the finished script and divide it by photo. The rule is simple: one meaningful image per slide, or a small matching set of two or three if they belong together. A slide with six photographs and a paragraph is a slide nobody reads.
Work through this storyboard before importing anything into your software. It takes twenty minutes and saves an hour of rebuilding later.
- Slide 1 — formal portrait, open title card. On-screen text: full name, dates, and “A tribute”. 8 seconds.
- Slide 2 — childhood or school photograph. One line about where and when. 6 seconds.
- Slide 3 — first job, or a candid working photo. One short memory, 20 to 25 words. 7 seconds.
- Slide 4 — wedding, or a group shot. Who is in the picture, and the date. 6 seconds.
- Slide 5 — candid at home or on a trip. Three or four lines of narration text. 8 seconds.
- Slide 6 — with children or grandchildren. Names and one line each. 7 seconds.
- Slide 7 — hobby, sport, garden, workshop. What the activity meant to them. 6 seconds.
- Slide 8 — the most recent photograph. Closing sentence, then a fade to black. 8 seconds.
The eight-slide version above runs a little under one minute of stills before music and pacing time. Most finished tributes land between three and five minutes, which usually means 25 to 40 photos rather than eight. The structure is what matters; the row count scales with your runtime.
Write captions that add something the photograph does not say on its own. A caption repeating “Grandma at the lake” tells the room nothing. “Grandma, Lake Winnipesaukee, August, the year she beat Dad at horseshoes” tells them a whole story.
Match every photo to a line you actually wrote. If a photo has no line, either write one in a few words or move the photo to the family album later. A photo that exists only to fill time undercuts the tribute around it.
Step 5: Add captions, dates, and simple transitions
Label people by the name they went by, not the name on the birth certificate. Aunts and uncles referred to as their first names when you grew up should appear that way on screen.
Dates go on milestone photographs and nowhere else. Too much dating makes a tribute read like an archive. Keep captions to two or three lines, in a plain font, in a corner or along the bottom so they do not cover a face.
Use one transition throughout. A cross-dissolve of about half a second looks gentle and stays out of the way; simple cuts look more modern and equally fine. Avoid anything that spins, flies, or bounces. On a projector in a bright room, the effect that reads as subtle on your laptop reads as chaotic on a screen twice the size.
Each slide wants four to six seconds. Longer if you are narrating a full paragraph over it, shorter for a title card.
You are done with this stage when the visual sequence supports the words rather than competing with them. Watch five slides with the sound off and ask whether you still feel the story. If you do, the sequencing is right.
Step 6: Choose music and optional readings
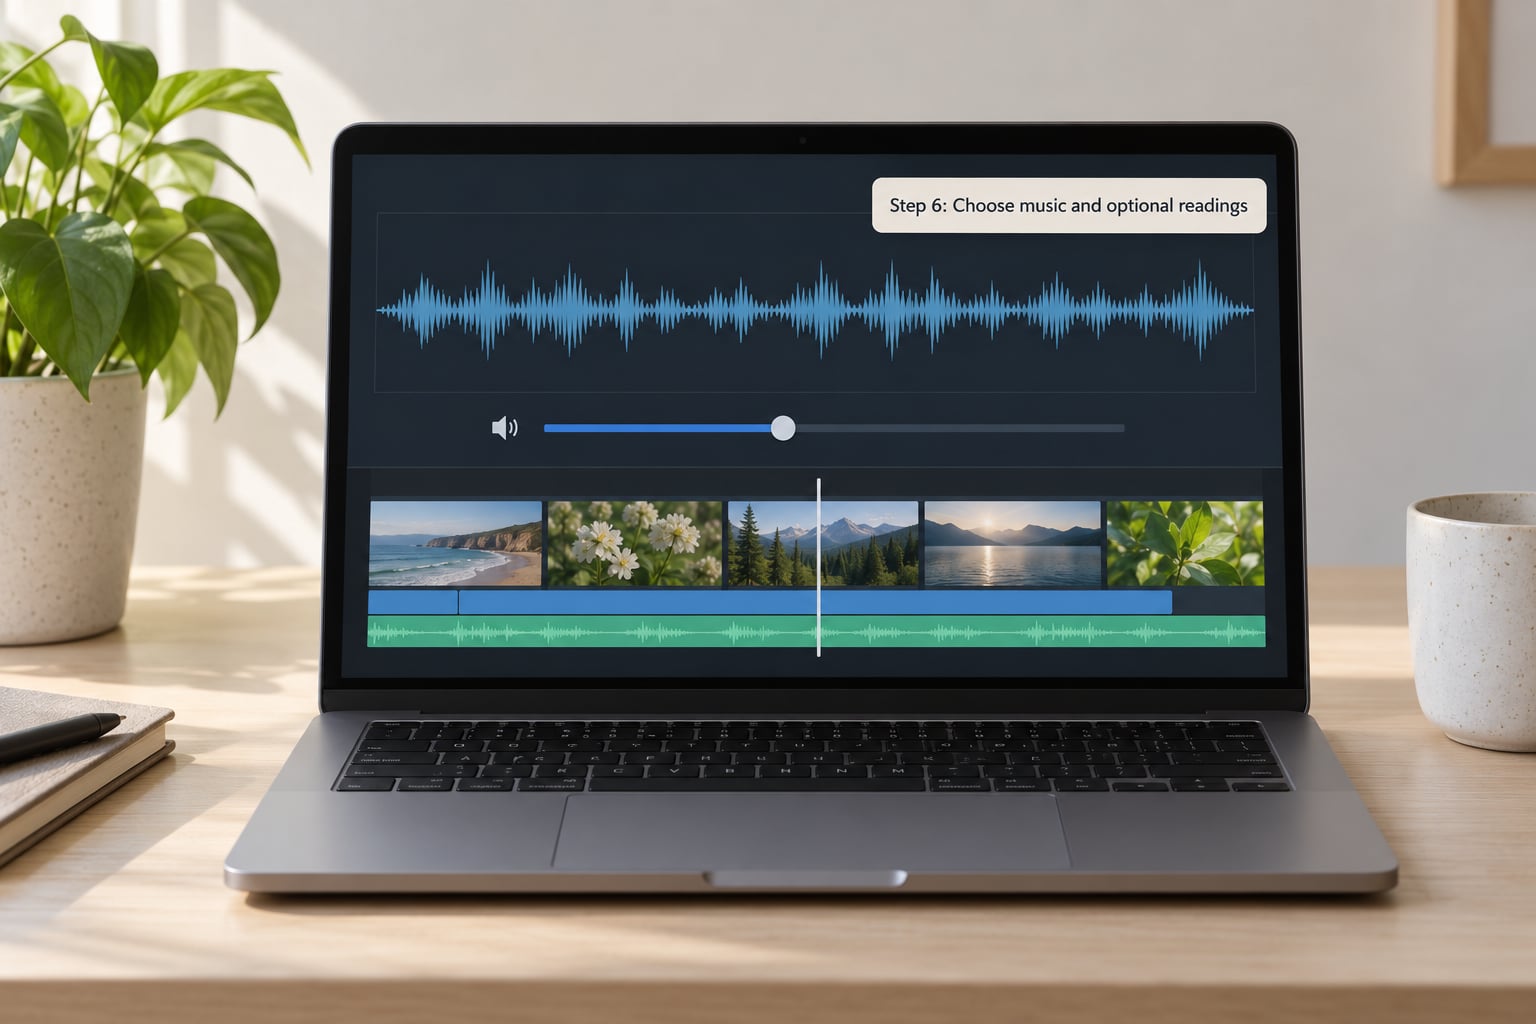
One track, not a playlist. Choose something instrumental, or something with a lyric so well known and so fitting that nobody is caught off guard by it. Familiar songs work because the room sings them in their heads.
If the words are on screen only, the music carries the emotional weight, so choose carefully and let it breathe. If a voice narrates over the top, the music is a bed: bring it down until it sits just under the speaking level and check on the room’s actual speakers, not your laptop, because the balance changes on real equipment.
Time transitions to the music rather than to a fixed beat. A cross-fade landing at the end of a musical phrase feels considered. One landing mid-phrase feels like a mistake.
On whether to narrate: reading it yourself has more emotional weight than anything else in the video, and it gives the family something to hold onto afterwards. Record it in a quiet room, sit about a hand’s width from the microphone, and read it three times before you keep the take that sounds like you and not like a reader.
If the music is licensed, keep the licence confirmation. If you upload the finished video anywhere public, the music rights follow you there. Royalty-free libraries included with your software, or a track you hold a licence for, keep this simple.
Step 7: Rehearse, test, and prepare a backup
Read the full script aloud, standing, twice. The second reading catches the sentences that only work on the page. Anything you stumble over, rewrite in simpler words.
Check every name and date against what the family has told you. This is the step people skip and the step that causes the quiet phone call the next morning.
Then play the whole video on the device that will actually run it at the service, connected to the same projector or television if you can get access to it beforehand. Test with the room’s speakers rather than the built-in ones. Confirm the audio plays and that no font has moved or shrunk on the real screen.
Export two copies in the ordinary video format your machine plays without thinking: MP4 at 1080p. Put one on the playback laptop and one on a USB stick in the same pocket. Bring both to the venue and check in with whoever is running the room that afternoon, not the morning of.
Decide who controls playback before the day. Someone relaxed, holding the remote, who is not the person most likely to break down.
Plan for the reader who cannot finish. Agree a signal and a stand-in with the family in advance. A short video, an untouched silence, and a return to the officiant is a complete and dignified ending, and deciding it in advance means nobody has to invent it in the moment.
You are done with this stage when the presentation runs smoothly and the family knows exactly what happens if the primary device fails.
Common Mistakes
Six problems account for nearly every tribute that does not land. Each has a specific fix.
- Overloading slides. Six photos on one screen, none of them readable. Fix: one meaningful image per slide, or a small set that clearly belongs together.
- Writing too much. Six hundred words crammed onto a screen nobody can read at that distance. Fix: cut to 250 to 400 words total and let the photographs do the rest.
- The wrong music. Something upbeat and energising, or a piece so heavy it collapses under the words. Fix: listen to the first thirty seconds alone before you commit, and test the balance under narration.
- Relying on memory for names and dates. Fix: verify everything written on screen against what the family has confirmed.
- Poor photo order. The strongest photograph buried at the halfway mark. Fix: put your best image in the first fifteen seconds and the most recent one near the end.
- Practicing too little. Fix: read the script aloud twice, and once more standing in the room where it will be delivered.
A few notes on tone and pacing that matter more than technique. Write the way you speak. Keep the tone warm rather than solemn if that is honestly how this person would have wanted to be remembered. Include the people who never met them, since half the room may be extended family who know them only through stories.
And take the time you need. Writing this while tired is not a failing. A few honest lines written on a difficult afternoon are worth more than a polished script you do not believe. Put it down, sleep, and come back to it.
Frequently Asked Questions
How long should a funeral slideshow tribute be?
Most funeral slideshow tributes run between three and five minutes, which fits the gap between readings in most service programs. That length holds roughly 25 to 40 photos with 250 to 400 words of tribute text. Ask your funeral director or officiant how much screen time the service allows, then build to that number rather than guessing at it.
How do I write a funeral tribute for someone else?
Collect their words before you collect your own. Write short messages asking relatives and close friends for one specific memory, plus the basic facts: full name, dates, places, names of family. Draft in the voice of the relationship you had with them, and let them approve the final text before it appears on screen. Accuracy matters more than eloquence here.
Should I read a funeral slideshow tribute aloud?
Either works, and both are common. Text on screen with music underneath is easier to deliver and never has a reader breaking down mid-sentence. A recorded voiceover carries more warmth and lets you be present for the service instead of reading. Whichever you choose, agree a stand-in reader in advance in case the text version is read live and someone cannot finish.
What music works best for a funeral slideshow?
One instrumental track is the safest choice, though a well-known song can carry more feeling than any instrumental. Test the first thirty seconds on its own before committing. If a voice narrates over it, bring the volume down until it sits just beneath speech. Keep your license confirmation, since rights follow the file wherever you upload it.
How should I organize photos and write captions for a funeral slideshow?
Put everything in a single folder, then sort into a rough timeline. Work in one direction: earliest to latest, or by theme such as family, work, hobbies. One meaningful photo per slide. Write captions that add something the image does not say on its own, and date only milestone photographs. Keep every caption to two or three lines so it stays readable at the back of the room.
Conclusion
Start with three things tonight, before any software. Gather every photograph and every memory the family will give you into one folder. Choose one theme to organize them. Then draft 250 to 400 words, out loud, in the voice you would use with a friend.
Once the words exist, the video is just assembly. The slides follow the script, the music follows the slides, and the tribute you wanted to write is already written.